Adding a New Customer Action
The Additional Information section (Customer Actions module) allows Financial Institutions to request ad-hoc information from end-users, customers or, prospects, automatically via the execution of the business process. For instance, this section can contain questions related to Income details, Legal details, and additional information. The questions in these segments request data in various ways such as Radio-Button Selection, Single-Selection dropdown list, Currency, Date, and Document Upload. Currently, the Additional Information section is as follows.

A bank can add a new customer action by adding a couple of configurations if required. Consider that a bank requires adding a new customer action type: Numeric. In such case, the process of adding a new customer action includes:
- Create a new customer action entry in the DMN rule of the RedHat process
- Add/Update Spotlight Configurations
Create a New Customer Action in RedHat PAM
Firstly, the Red Hat Process Automation Manager must create a new customer action. To do so, follow these steps:
- Open Red Hat Process Automation Manager (Business Central).
- Navigate to Projects > SMH > Origination.
- From the list of decision tables, select UserActionRules.
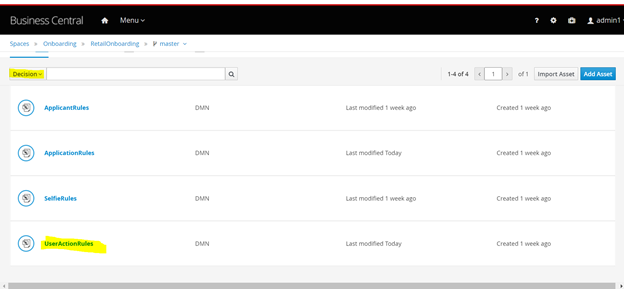
The UserActionRules decision graph appears.
- Click the Edit icon beside the UserActionList element.
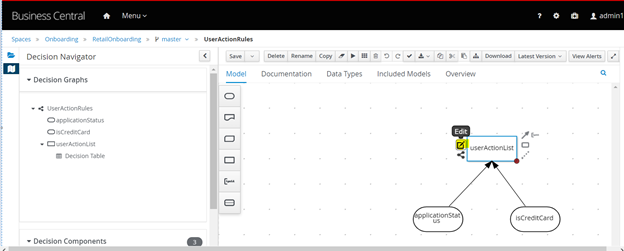
- In the UserActionList decision table, add the Age customer action for the following rules:
- isCreditCard = true
["MobilePhoneNumberConsent", "BackupWithholding","EmploymentStatus","MonthlyGrossIncome","StartDate","Citizenship","IncomeDocument","ConfirmAddress","SecondaryCitizenshipCountry","Age"]
This rule applies to credit card products. You can skip this step if you do not want to create this customer action for credit card products.
- isCreditCard = false
["MobilePhoneNumberConsent", "BackupWithholding","Citizenship","SecondaryCitizenshipCountry","Age"]
This rule applies to all products other than credit cards.
- isCreditCard = true
- Click Save.
- From the breadcrumbs, navigate to the RetailOnboarding screen and click Deploy.
You will see a notification that the deployment to the server configuration is successful.
Add/ Update Spotlight Configurations
To complete the creation of the new customer action, you must add a new system configuration in Spotlight after creating a new customer action. Furthermore, edit an existing configuration to submit details for triggering the right customer action signal after the user submits the response to a question.
Add a new Spotlight Configuration
Follow these steps to create a Spotlight configuration for the new customer action:
- Open the Spotlight app.
- From the left pane, select System Configurations.
The System Configurations page appears.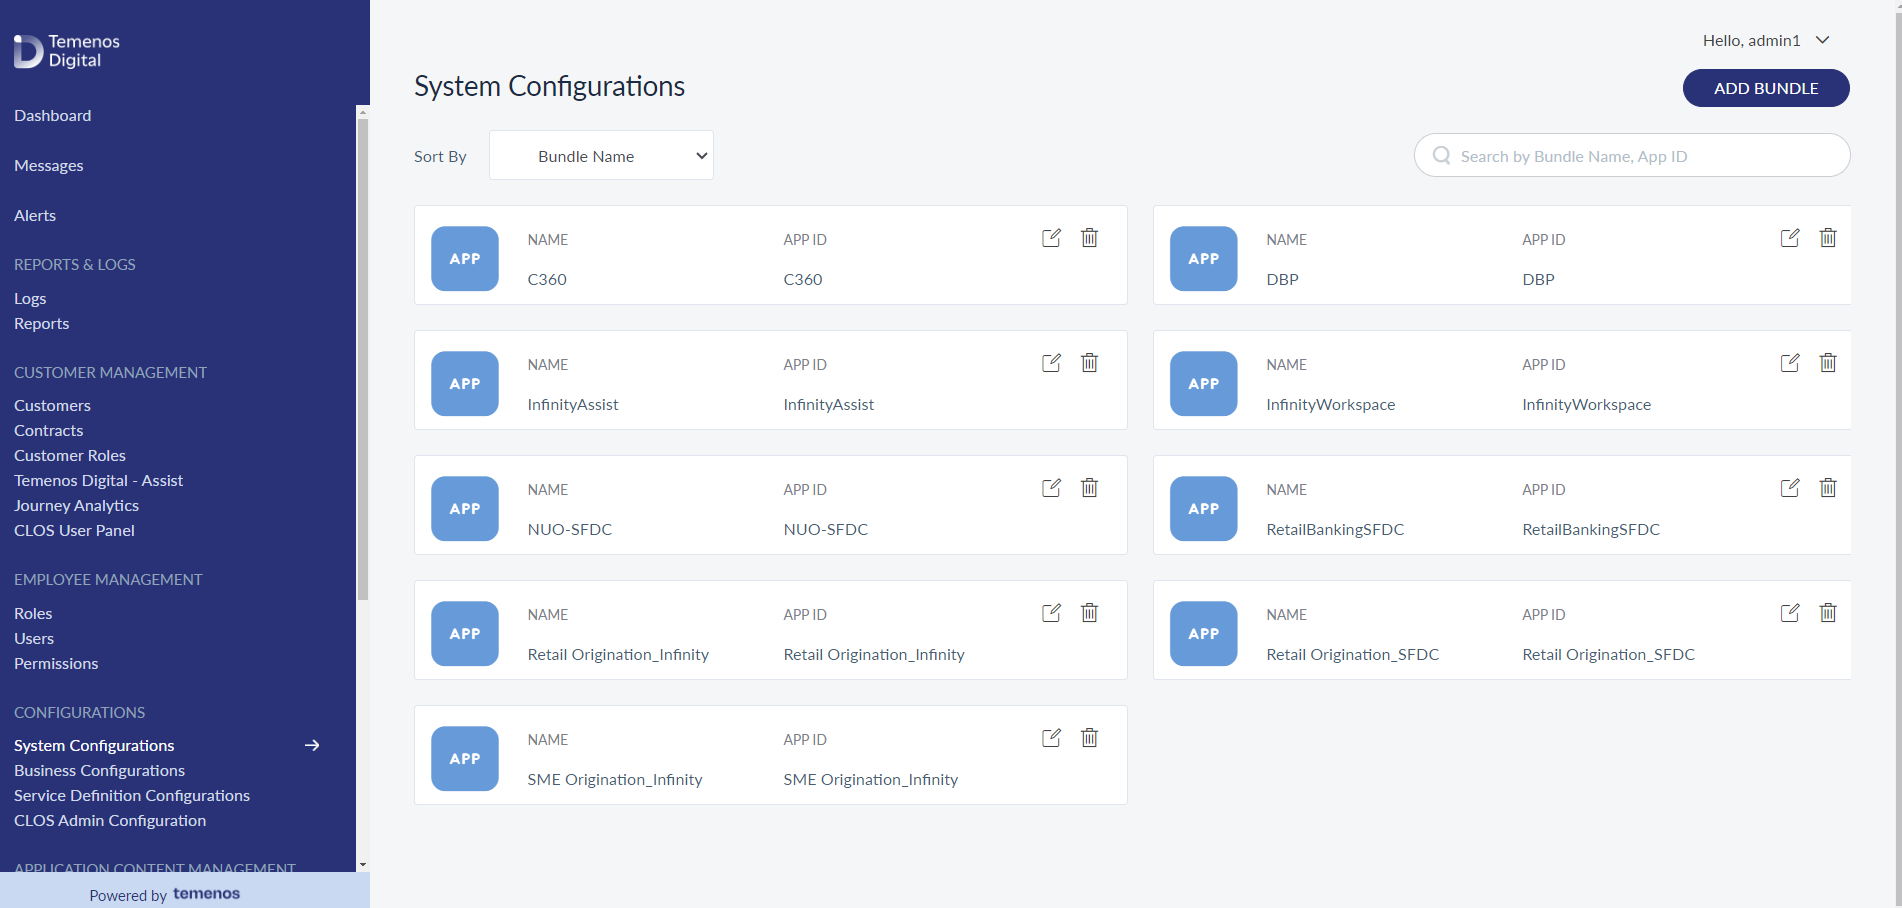
- From the list of bundles displayed, navigate to the Origination bundle named Retail Originationand click on the Edit icon.
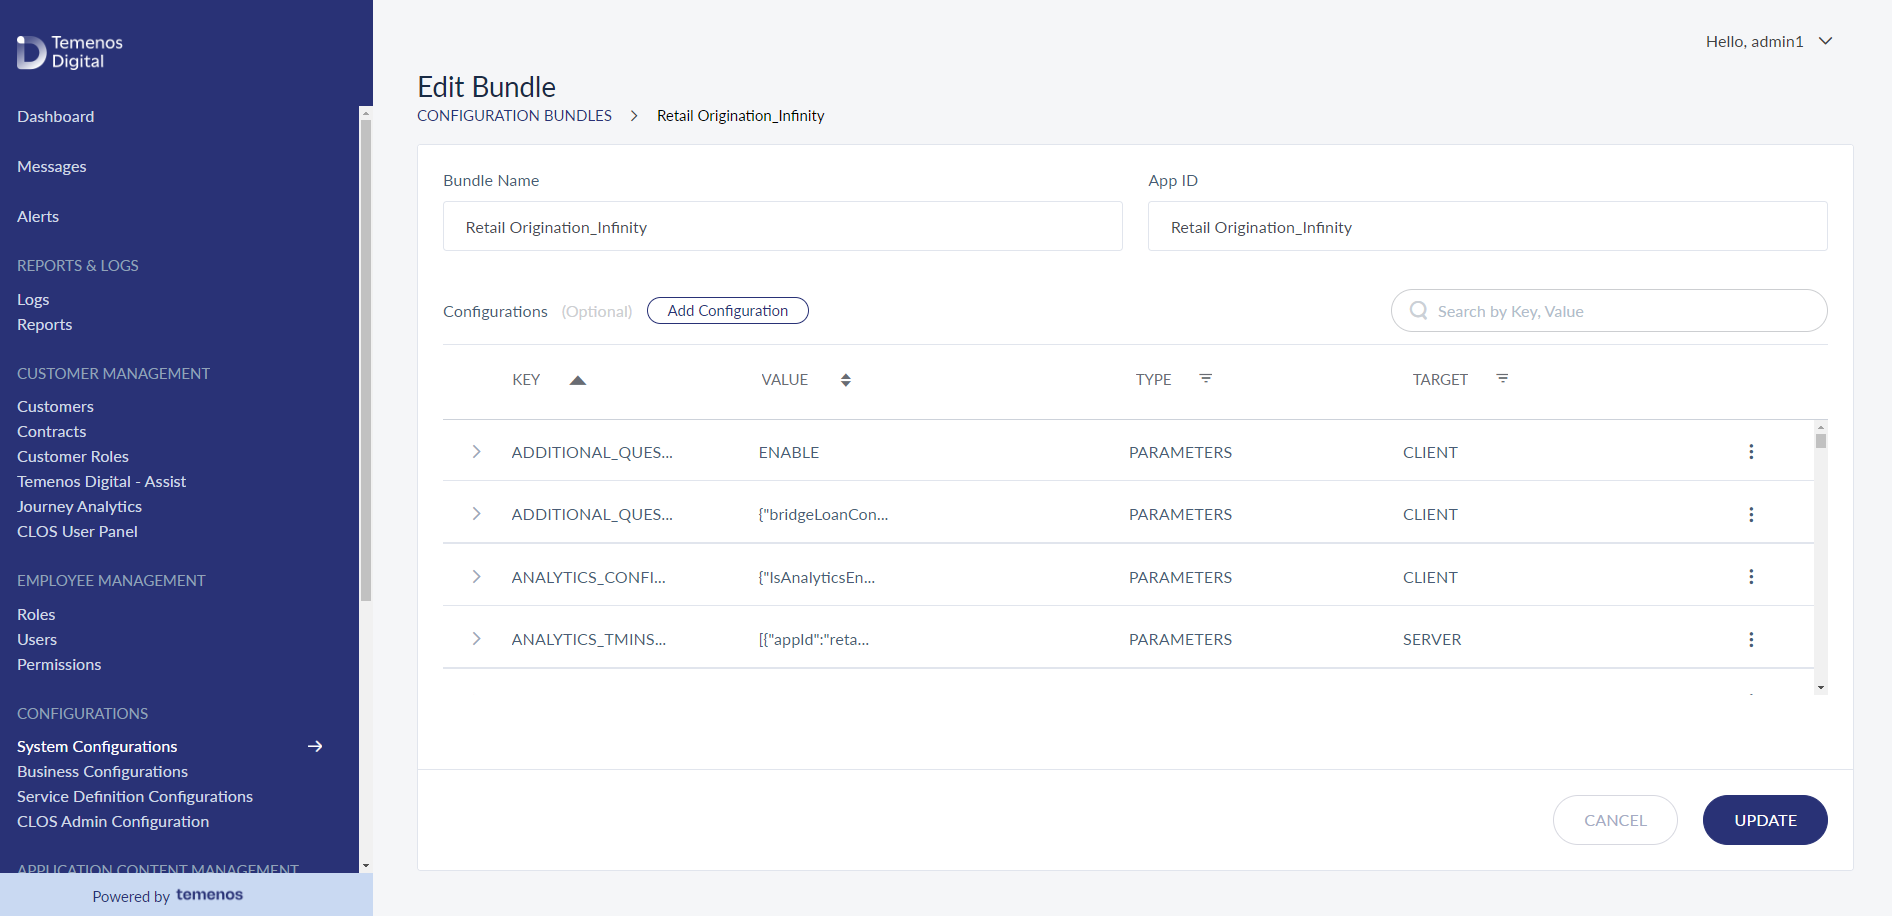
- Under the Configurations section, click Add Configuration.
The Add Configuration window appears.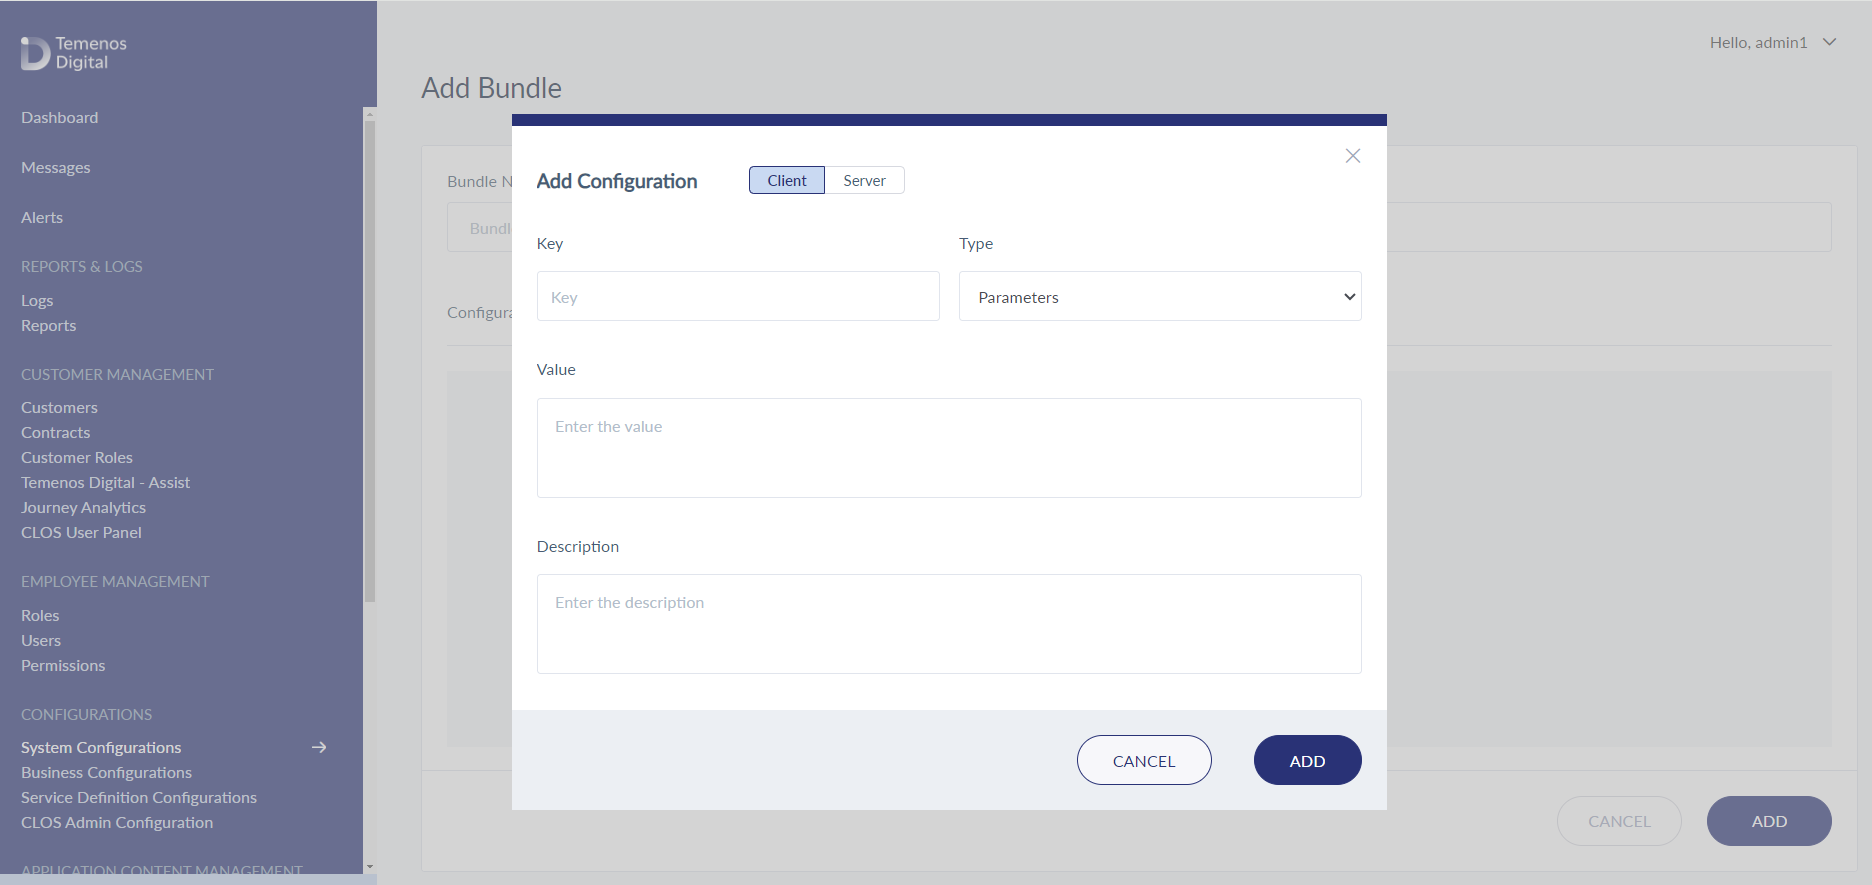
- Provide the following details:
- Key: AGE_CONFIG
- Type: Parameters
- Value:
{ "UserActionName": "Age", "Group": "Additional Info", "Skippable": "false", "Title": "Age", "UserActionType": "Numeric", "Options": "", "OptionsType": "", "Description": "Please provide your age", "DynamicDataDefinition": "", "NeedsReview": "true" } - Description: Age
- Click Add and then click Update.
The bundle is updated successfully.
Update the Submit Configuration details
To update the submit configuration details in Spotlight, follow these steps:
- In the Spotlight app, navigate to System Configurations > Retail Origination Bundle.
- Click the Edit icon.
- In the Search bar, type ENTITY_ITEM_PAM and press Enter.
- In the search results, go to the configuration and click Edit from the contextual menu.
The Add Configuration window appears. - The Value text box contains the configurations of the existing customer actions. Add the following JSON config to the Value and click Update.
{ "eventType": "USER_ACTION_SUBMITTED", "entityItemDefinitionName": "Age", "fieldName": "", "operand": "", "fieldValue": "", "processDetails": { "processType": "resume", "processId": "RetailOnboarding.CreateUserAction", "signalName": "Age", "uniqueSignalRequired": true } } - Then, click Update.
Now, the bundle is updated successfully.
If a bank requires validation of the user's response, add the Data Validation configuration. To do so, follow these steps:
- In the Spotlight app, navigate to System Configurations > Retail Origination Bundle.
- Click the Edit icon.
- In the Search bar, type DATA_VALIDATION_NUO and press Enter.
- In the search results, go to the configuration and click Edit from the contextual menu.
The Add Configuration window appears. - The Value text box might already contain some validations. Add the following JSON config to the Value and click Update.
"Age": [
	  {
        "BusinessRuleType": "MANDATORY",
        "BusinessRule": ""
      },
	  {
		"BusinessRuleType": "VALUE_FORMAT",
		"BusinessRule": "FORMAT_NUMBER"
      },
	  {
		"BusinessRuleType": "VALUE_MIN_LIMIT",
		"BusinessRule": "18"
      }
	]
The above validation business rule indicates that it must be a mandatory field, receive a numeric input, and the input value must be greater than or equal to 18.
In this topic